Halloween Characters - Kids: A Designer’s Review
As someone who spends more time evaluating thread paths than I do on casual conversation, I’ve learned to look at vector illustrations with a healthy dose of skepticism. Not everything that looks sharp on a screen translates well into a hoop. When I began evaluating the “Halloween Characters - Kids” set, I immediately shifted my focus from its appeal as a digital graphic to its viability as a machine embroidery design. Here is my practical, hands-on review of this quirky vector set for real embroidery projects.
First Impressions: Mood, Shape, and Stitch Potential
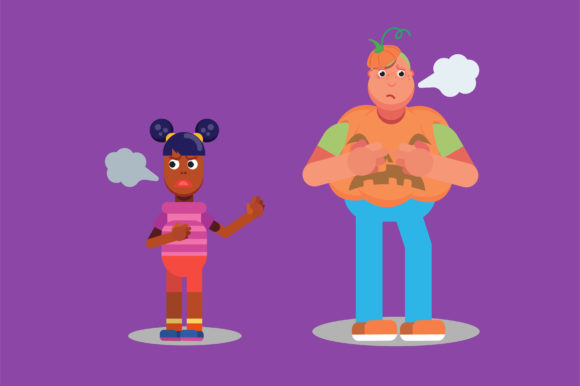
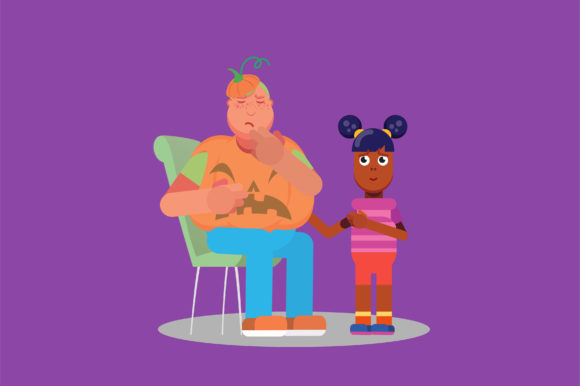
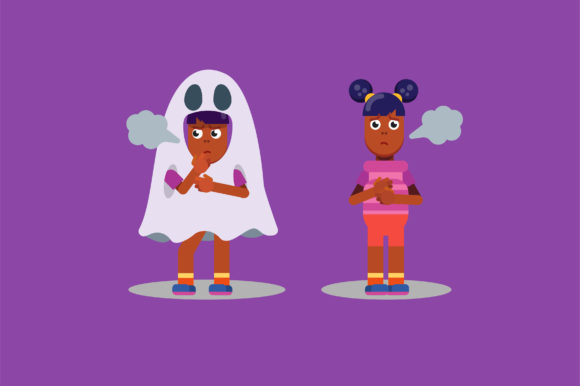
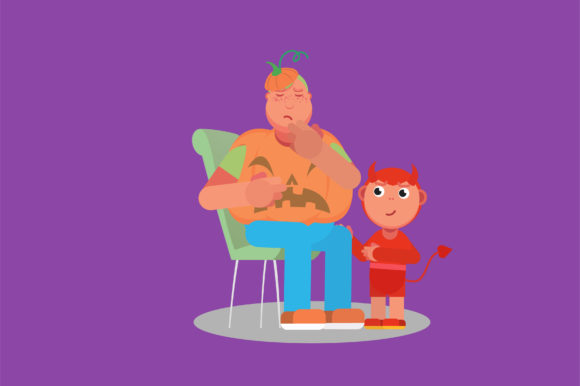
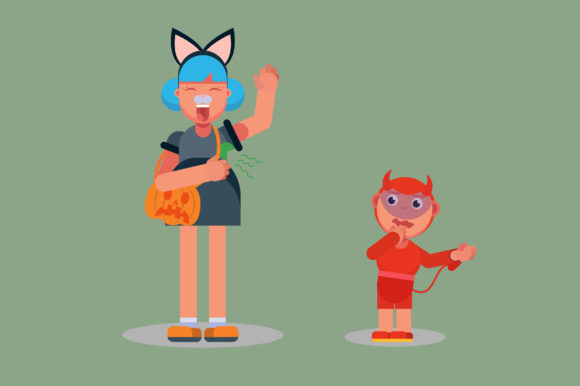
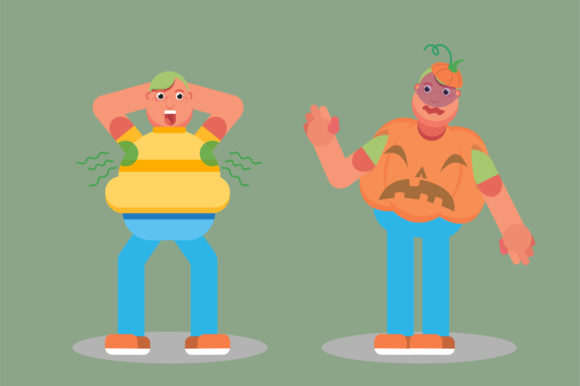
The “Halloween Characters - Kids” collection delivers a lineup of funny, weird, and highly expressive personalities. The mood is undeniably playful rather than grotesque, which makes it a natural fit for children’s custom apparel and holiday-themed handmade products. The strong, distinct shapes and exaggerated features are a major advantage for an embroiderer. These characters have clear, defined zones that are ideal for fill stitch work, satin stitch details, or even converted applique design elements.
Because the source is a vector, the edges are mathematically clean. This is critical when you import the file into your digitizing software. There are no fuzzy pixels to trace, which saves time and reduces the risk of jagged stitch paths. The visual personality here is bold and unapologetically odd, which is exactly the kind of design assets that stand out in a crowded market of generic holiday decor.
Real Case Scenario: The Toddler Sweatshirt Project
Let me walk you through a specific project to illustrate how this design performs under real conditions. I was preparing a custom embroidered sweatshirt for a four-year-old as a personalized gift.
I selected a character from the set with a large head, a funny hat, and a simple body structure. The first step was converting the vector into a usable embroidery file. The clean lines made digitizing straightforward. I broke the design down into three layers: a background fill stitch, a satin stitch outline for the main body, and running stitch details for the facial features.
Immediately, I had to make judgment calls on stitch density. The original illustration had some thin, spindly lines that would have turned into very dense, narrow satin stitches. For a toddler’s sweatshirt, that level of density can make the fabric stiff and uncomfortable. I widened those lines slightly and increased the minimum stitch length to keep the embroidery soft and flexible. The result was a durable, tactile design that retained the quirky charm of the original vector. The parents loved that it was “weird” without being scary. This is the sweet spot for baby embroidery and children’s products.
Performance Across Different Products
Not all fabrics are created equal, and the “Halloween Characters - Kids” set demands a thoughtful approach to substrate choice. Here is how it performs on common product categories:
Custom Apparel: Sweatshirts and T-Shirts
This is where the design feels most at home. The bold fills and clear outlines hold up well on cotton and cotton-blend fabrics. For a sweatshirt embroidery project, the weight of the fabric supports the stitch density without puckering. On lightweight t-shirts, I recommend using a high-quality cutaway stabilizer to prevent the fabric from distorting under the weight of the fill stitches.
Tote Bags and Hard Goods
A tote bag design featuring these characters is a high-value item for any craft business or Etsy seller. The sturdy canvas or cotton twill can easily handle the dense stitching required to capture the vector illustration style. I have also tested this on pillow covers and kitchen towels. The texture of the fill stitch creates a plush, dimensional surface that feels premium.
Baby Items and Onesies
This requires caution. The stitch density of a fully digitized character can be too stiff for a soft onesie. My strong recommendation for baby embroidery is to use the vector as a template for an applique design. Use the character’s body as a fabric patch, and stitch the facial details directly onto the patch. This keeps the back of the embroidery soft against the baby’s skin while still delivering the full visual impact of the character.
Caps and Curved Surfaces
This is a tricky application. The curved surface of a cap does not accommodate large, dense designs well. If you are doing commercial embroidery on hats, you will need to significantly simplify the layout. Focus on the character’s head or face, and use a running stitch or light satin stitch outline to keep the design flexible. Full-body characters will likely distort on the curve of a cap.
Where to Exercise Caution
Every design has its limitations, and being honest about them saves time, thread, and fabric. Here are the specific areas where “Halloween Characters - Kids” requires careful planning:
- Small Hoop Sizes: If you are working in a 4x4 hoop, the full-body characters will likely be too small. The fine details in the faces and hats will become a messy blob of thread. Stick to the most visually distinct elements—the face and the headwear.
- Dark Fabrics: The original vector uses a lot of dark outlines and fills. If you stitch this on black or navy fabric, those dark elements will disappear completely. You must either reconfigure the thread colors to be lighter or add a subtle white outline around the entire design to create contrast.
- Textured Fabrics: On fleece, thick knits, or heavily textured fabrics, fine details will be lost. The stitch tension will pull into the nap of the fabric, blurring the sharp edges that make the vector look good. Test on a scrap piece of your final fabric before committing.
- High-Wash Items: For kitchen towels or items that will be washed frequently, the stitch density is a concern. Dense fill stitches can cause the fabric to pucker over time. Use a heavy-duty cutaway stabilizer and consider reducing the density of the fills by 5–10% in your digitizing software.
Business Value and Marketability
For an Etsy seller or a small shop product creator, this set offers strong differentiation. The “funny and weird” angle appeals to parents who are tired of the same generic, mass-produced holiday decorations. When you create a bundle—a matching sweatshirt, tote bag, and pillow cover—you build a cohesive product line that customers recognize. This builds brand consistency and customer trust.
Because it is a vector Illustration, you can easily create printable mockups for your online listings. A professional mockup of a handmade product featuring these characters justifies a higher price point. Buyers perceive it as a premium, exclusive design rather than a stock image.
One critical note: before you sell a single finished product or converted digital embroidery file, verify the license of the Graphics you purchased. Most standard licenses allow you to use the design for commercial products, but you must confirm whether you can sell the digitized embroidery file itself. Licensing compliance is not optional—it protects your craft business from legal issues down the road.
Practical Designer Notes for the Hoop
Here are my final technical recommendations for anyone planning to use “Halloween Characters - Kids” in a real embroidery project:
- Test on Scrap Fabric: Vector files can have hidden open paths or overlapping nodes that cause thread breaks or machine errors. Always run a test stitch on a scrap piece of the exact fabric you plan to use.
- Check Thread Color Contrast: Before you digitize, create a black and white mockup of the design. If the shapes do not read clearly in grayscale, your thread colors will not have enough contrast. Adjust your palette accordingly.
- Use the Right Stabilizer: For custom apparel that will be worn and washed, use a cutaway stabilizer. Tear-away stabilizer is not strong enough to support the fill stitch density in these designs. For tote bags and pillow covers, a medium-weight cutaway works perfectly.
- Consider Appliqué: This is my top recommendation for reducing stitch density and softening the finished product. Use the vector shapes as templates for raw-edge or turned-edge appliqué. This technique gives a boutique finish that customers love.
- Confirm Hoop Size: Scaling the design changes the stitch density. Scaling up too much can make the fills look sparse and threadbare. Scaling down too much creates a dense, hard patch. Match the final size to the intended product and hoop capacity.
- Simplify for Curves: If you are stitching on caps, curved bags, or sleeves, reduce the design to its most essential elements. A simplified head and face using satin stitch and running stitch will perform much better than a full-body layout.
Final Verdict
“Halloween Characters - Kids” is a strong, versatile design asset for anyone in the embroidery project space. It bridges the gap between a digital illustration and a viable, stitchable product. The quirky, playful mood is marketable, the vector source is clean, and the potential applications are broad—from custom apparel to home decor to handmade gifts.
The key to success with this set is thoughtful digitizing and realistic expectations about fabric and scale. When you approach it with the right technical strategy, it delivers a finished product that feels exclusive, creative, and professionally made. For the experienced embroidery designer or the savvy Etsy seller, this is a solid addition to your holiday design library.